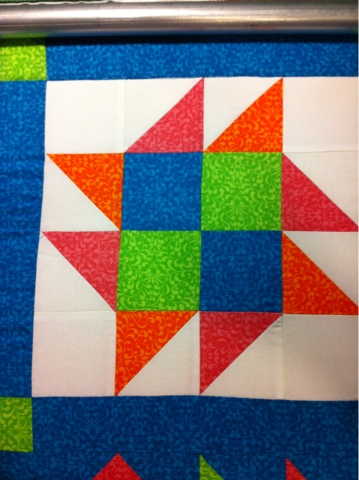
Since becoming an AccuQuilt Retailer I have been trying to find every way possible to use my machine. Some times it's easy to look at a pattern and say "yep, I can do that" and other times it might take a little thinking or adjusting in pattern size but it is still easy and can be done.
In the July/August 2013 issue of McCall's Quilting Magazine, there is a beautiful quilt made with Dresden plates on the cover and on page 42 called "Miss Kyra". The quilt was designed by Erin Russek and you will need to purchase the magazine for complete details and directions. I am only going to point out the parts that I had to convert or change to use the AccuQuilt GO!
The first step for me since I am using to GO! is to cut my Dresden Plates (55071). The pattern calls for 100 but I know it takes 21 to make a full circle with the GO! Die and I have five for the quilt top so I will cut a 105 plus 5 centers. (Guess what, that took me a whole 30 minutes, including getting out my fabric and rotary cutting into 6" strips to minimize waste.)
The GO! Dresden are larger than the one in the original pattern so I need to decide which is easier (or which I want to do), I can either make the Dresden's smaller simply by stitching a line 3.75" (4" template) from the bottom or I can make the overall project a little larger using the 5.5" Dresden as-is. I have to stitch the line either way and I have to trim at the point so that it will not bulk. Either way will work great, the only extra step will be if I choose to use the smaller size, when I trim the point, I will also trim off the excess leaving .25" seam allowance.
(If you are going with the original pattern design, you will need to make a line on the bed of your machine to align the edge by as you stitch. In my case it aligned with the edge of the plate perfectly just by moving my needle to the right.)
I think I am going to use the plates as is because I am perfectly ok with the finished quilt being about 8" - 10" larger overall.
So now I have finished my five Dresden Plates as directed on the AccuQuilt directions. Oh my goodness, they went together so nice and with a good 1/4" seam allowance are laying as flat as a pancake.
Now the the Dresden's are complete, we need to figure out the size of our background block. Our GO! Dresden is approximately 11.5" which is roughly 1" bigger than the original pattern. With that being said, I am going to add 1" on all sides making my back ground piece 2" larger than the pattern. I can always trim them down later if I want to. So we need to cut five of those, plus two more for the half square triangles. I needed to cut one, 33" background to use for the quarter square triangles. (Notice I have myself some extra fabric here. This will allow me to trim and square up nicely. The $4 in fabric that will be added to my scrap bucket will more than pay off in the time I saved. You can also measure and be more precise if you want to and eliminate that scrap bucket addition.)
At this point, I will start assembling the center of the top as directed in the magazine. I will add the small border then the appliqué flowers... Oh AccuQuilt has so many to choose from. :)
I have decided to use the GO! Round Flower Die (55007). No reason other than similar size and I had it handy. You could use just about any flower die you choose.
I always iron my fusible backing to my fabric before cutting on the GO!. (My preference is Steam-A-Seam 2 Lite). This is again a huge time saver.
I added the flowers and outside order according to the directions on the pattern and finished at 65" x 65".
This is the unquilted version and I think it turned out great.
This is just one of many examples of taking your favorite magazine or pattern and using your GO! I can't tell you how quickly this all came together. The AccuQuilt GO! System truly does help us all make better cuts, that make better quilts.


