First let me say if this was a very special quilt that needed to be perfectly square, I would not use this method. However for daily use quilts, throws and baby quilts it is a huge time saver.
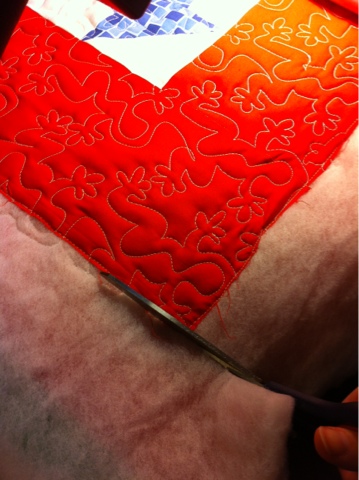
After I finish quilting, I roll the quilt back so I can see the bottom edged. With my good scissors, I just start trimming along the bottom edge. (Make sure your leaders are out of the way.)
Next, I pull the quilt over the belly bar, just a little at a time, to give me access to the sides. Trim up each side as space allows.
As you are trimming, you may notice areas where the top pulled one way or the other. You will just trim straight like you would with your rotary cutter.
Continue trimming both sides until you reach the top of the quilt. Now finish trimming along the upper edge by the take up roller and your all done!


I just noticed your post and couldn't resist responding because this is EXACTLY how I trim 90% of all my quilts - especially charitable projects, saves soooo much time ;-)
ReplyDeleteLove your panto quilting on this one, looks great!
Happy Quilting,
~Deb
It is just amazing at the little things that can save so much time. Glad to know someone else does this so that I know I'm not doing anything to terrible. :)
Delete